You Shall Not Pass!
A while ago I deployed a small NAS with the sole purpouse to store the files I need for my retro projects and share them with the retro systems over Samba shares; getting things working on Windows XP SP3 was quite easy but I soon realized that Windows 98 (as predictable) was another story.
With stock config it can see the server but since Windows 98 does not support NTLM there is no way to authenticate.
At this point you have two options: the first one is somehow the most obvious, that is reduce the security, right? Well, in theory yes, but in practice this ended up being a nightmare to configure and also a very bad idea in general, especially if you use the share with other systems on your network.
The second option instead is to increase the security on Windows 98 and this is what I did and will explain how in this post.
Networking
To mount a network share, believe or not, the first thing we need is a working network!
Once you have installed correctly your network card you will see a new Network Neighborhood icon on the Dekstop and this means we can start. If your NIC is natively supported by Windows 98 driver database you will have it already after the OS installation.
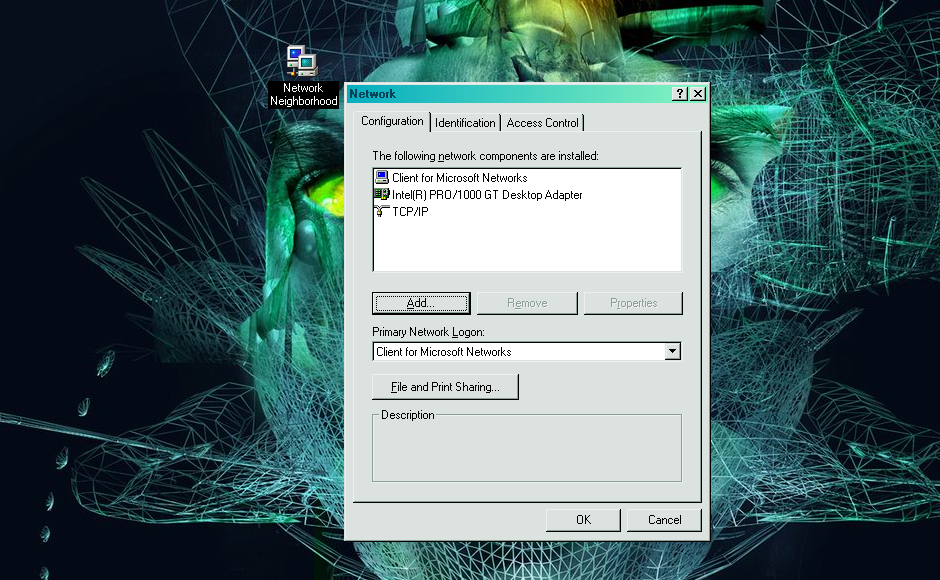
To configure TCP/IP in Windows 98 right click the Network Neighborhood icon, select Properties and then double-click TCP/IP
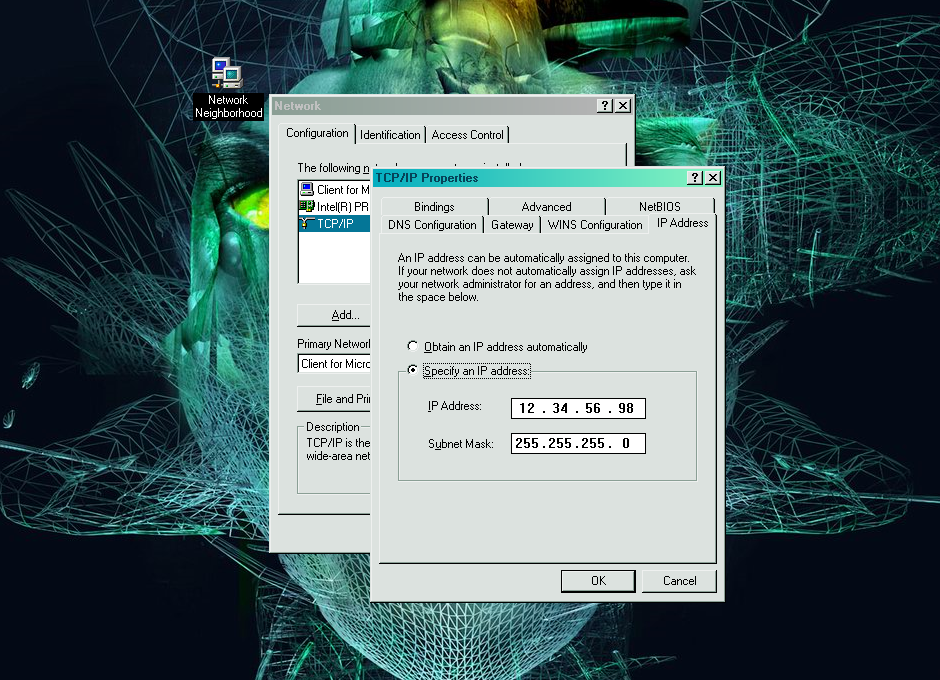
You can go ahead and configure also the Gateway if you wish, in my case it’s basically a point-to-point connection on a dedicated subnet so I just need the IP to talk to the server.
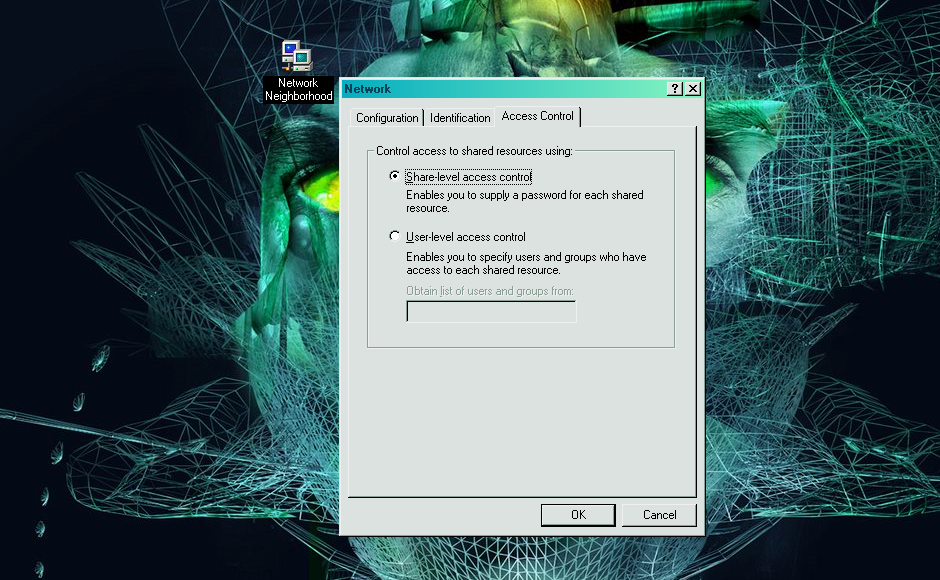
You can leave the default settings in the Configuration and Access Control tabs
At this point Windows will ask you to reboot in order to apply the changes.
The Registry
Wouldn’t have been a serious thing if it hadn’t requested a registry key edit, right?
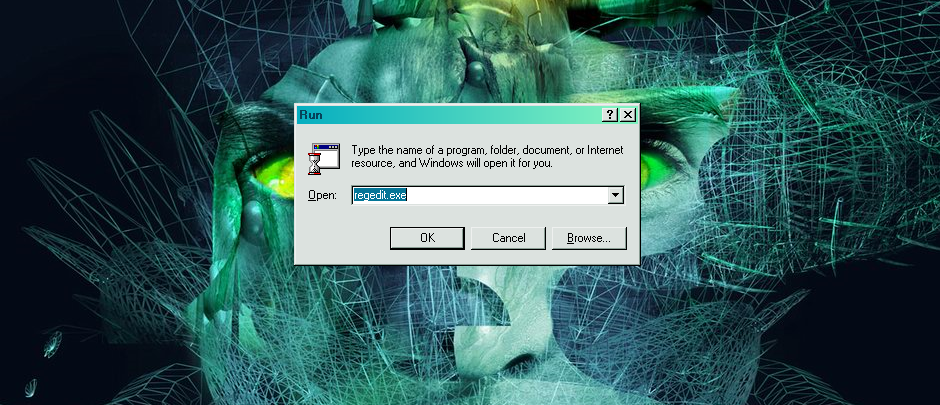
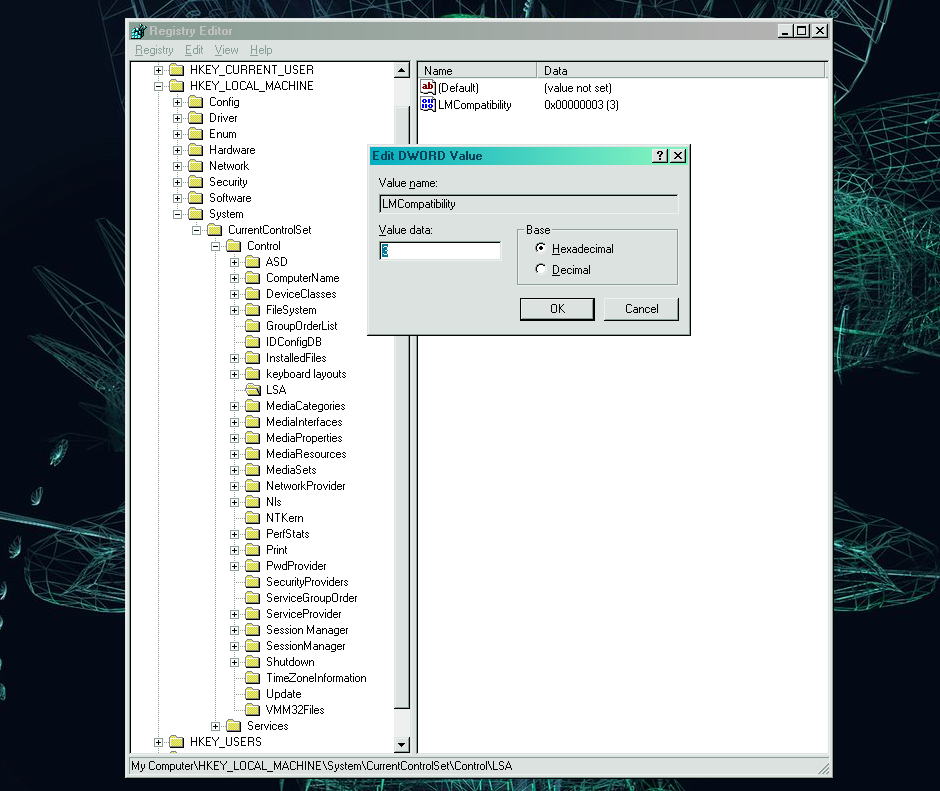
Let’s open the Registry then! Basically what we need to do here is create a new registry key that will activate the NTLM 2 support in Windows 98. To do that, locate
HKEY_LOCAL_MACHINE\System\CurrentControlSet\Control
Here we need to create a new “LSA” registry key and add a “REG_DWORD” value called “LMCompatibility” set to 3, as in the image below
That’s it, a new reboot is required to apply Registry modifications.
Directory Services Client
At this point the hard part is done, we just need to install the client that will allow us to use the NTLM 2 feature we just activated in the Registry.
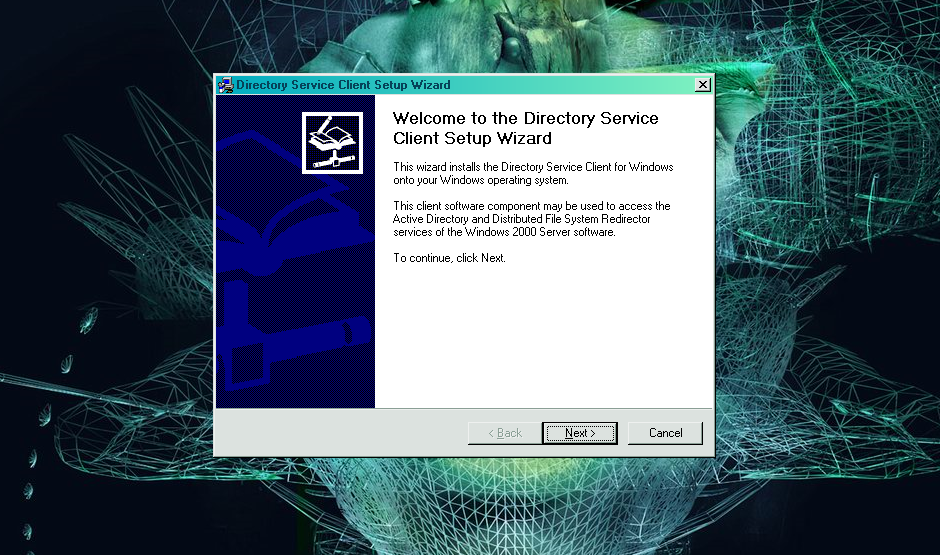
The DSClient that we need can be found in any Windows 2000 Server installation disk, but for those that don’t have the disc on hand
here is the setup file.
At the end of the installation a new reboot is required. In theory you can do the Registry step and this one in one shot and save a reboot.
Mount Samba Shares
At this point we are done, but before we can mount our share(s) we need to make sure that we have a user on the Windows 98 system that matches one we have on the Samba server with R/W rights on the share (both password and name have to match).

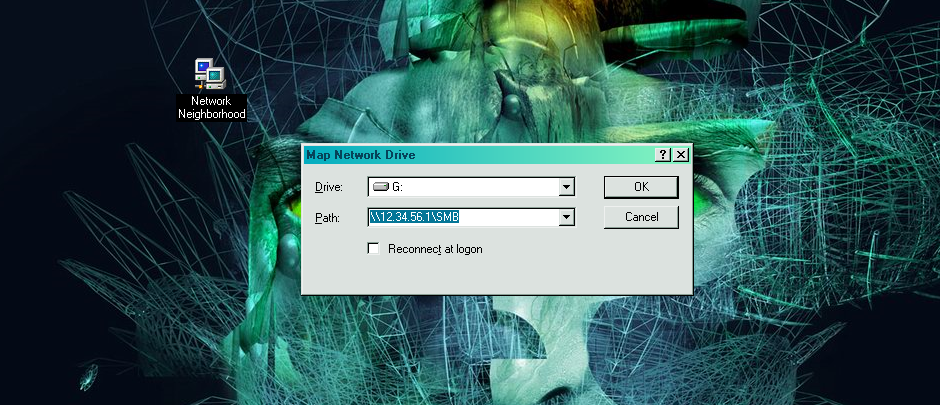
When the matching user has been created and we are logged in Windows 98 with that user, just right click on the Network Neighborhood icon and select “Map Network Drive…“, choose a Drive “Letter” and type the address/share of your server and click “OK”!
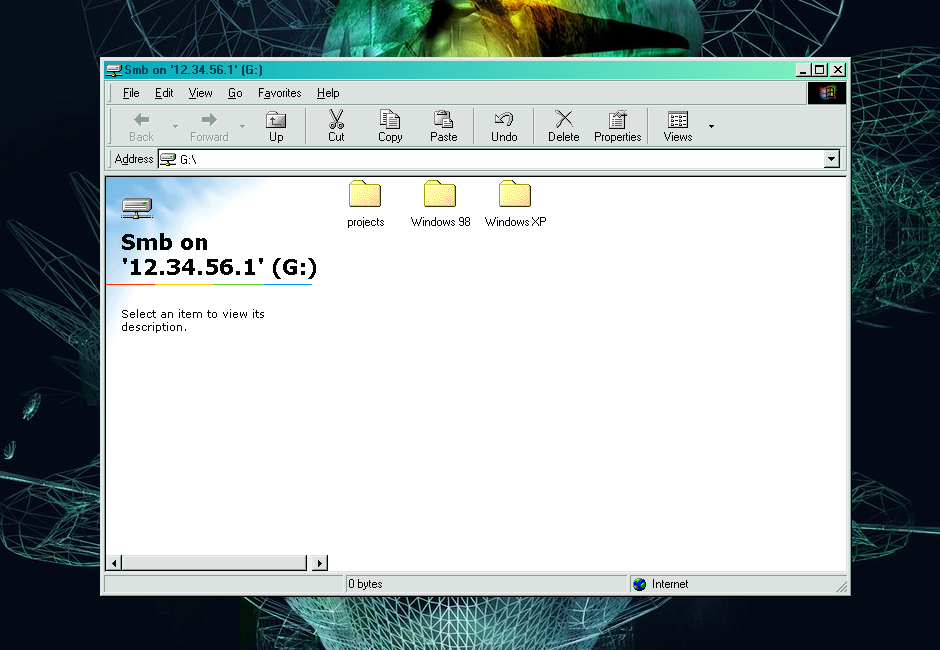
That’s it, your share should open and you can start transfering your retro files around!